





 Nederlands
 Italiano
 Português
 Română
 Español
 Ελληνικά
 Polski
 Türkçe



Someone’s about to buy more RAM. Or maybe they’re staring at a Windows 11 compatibility prompt, or a support agent just asked “what’s your CPU?” and there’s no answer ready. Every one of those needs the same first step: knowing what’s actually inside the machine.
Here’s the annoying part. Most guides answer that by dumping every possible method on the page with equal weight, so a person hunting for one number ends up opening four tools and reading three articles before they find it.
So let’s skip that. For anyone searching how to check pc specs windows 11, the fastest route covers about 80% of what people need, and two deeper tools handle the rest. And nothing here requires an install. Windows already ships with all of it.
Why how to check pc specs windows 11 advice usually wastes your time
The problem isn’t that the information is hard to find. It’s that guides treat “how to check pc specs windows 11” like a checklist of every utility Windows has ever shipped, then leave the reader to figure out which one holds the number they came for.
Take a real example. Someone wants to know if their PC can run a game, so they need the graphics card and the DirectX version. A generic guide sends them to Settings first, where neither shows up clearly. Then to System Information. Then to Device Manager. Three stops for two numbers.
Another gap: nobody tells you when the easy route runs out. Settings is genuinely great, right up until you need the motherboard model or whether the system boots in UEFI or Legacy BIOS mode. Those two fields matter a lot for upgrades, and the About page just doesn’t show them.
So the fix is matching the question to the tool up front. That’s the whole trick.
The fast route: Settings > System > About
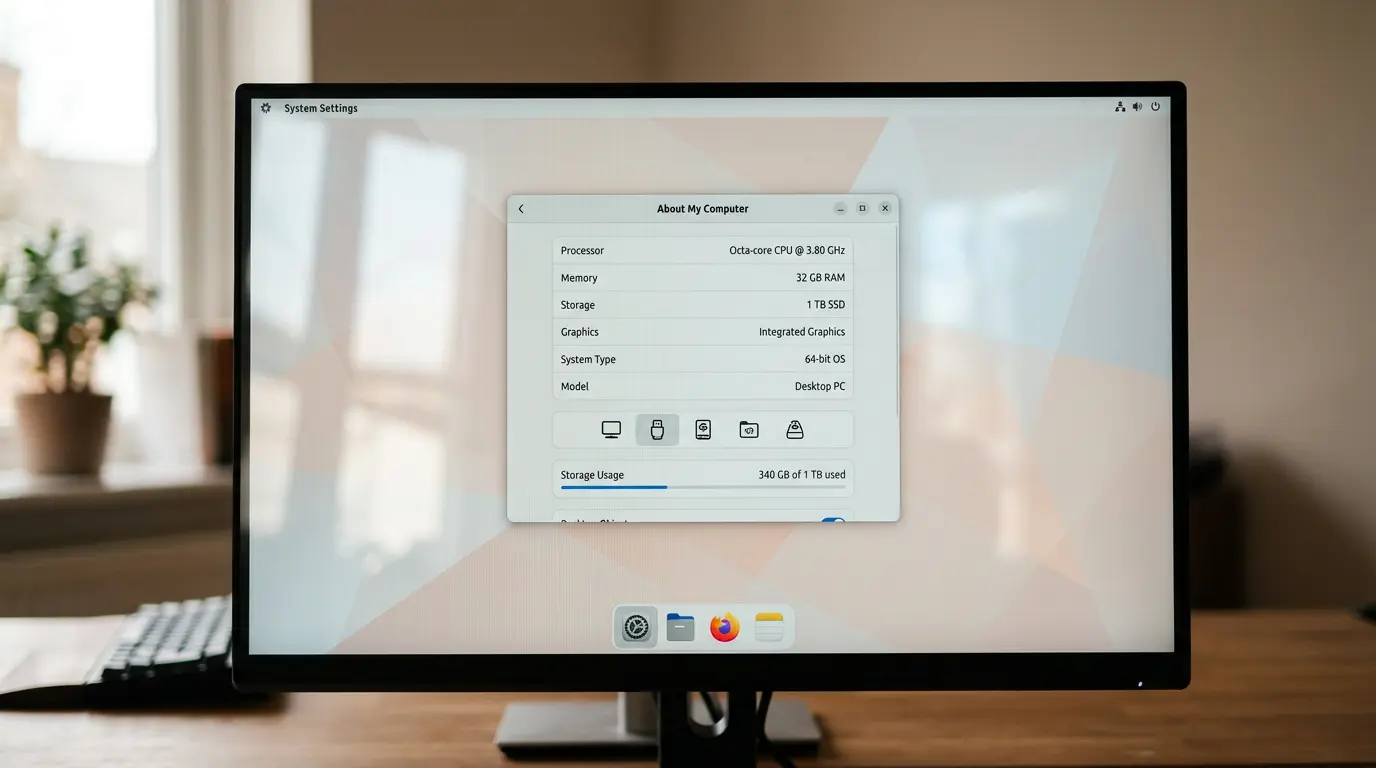
Start here for basically everything. To find ram and cpu windows, press the Windows key, type “about,” and hit Enter. Or click through Settings > System > About manually.
Device specifications lists your processor, installed RAM, system type (64-bit or 32-bit), and the device name. Right below it, Windows specifications shows your edition, version, and build number.
That single screen answers the questions people actually have most of the time:
- Which CPU is in the machine, and roughly what class it is (the model name tells you)
- How much RAM is installed
- Whether it’s 64-bit Windows (a lot of software needs this)
- Which Windows edition and version is running
For an upgrade decision, RAM and edition are the two that matter most. If it says 8 GB and there’s heavy multitasking going on, that’s the answer. And if it says Windows 11 Home but the job needs BitLocker or Remote Desktop, that’s a different kind of upgrade entirely – moving to Pro, not opening the case.
What the About page won’t give you: motherboard model, BIOS mode, graphics card details, or DirectX version. That’s where the next two tools come in.
System Information (msinfo32): the deeper view
When Settings runs out, this is stop two. For a full system information Windows 11 breakdown, press Windows key + R, type msinfo32, and press Enter.
The System Summary page that opens is dense, and that’s the point. Scroll through and there are fields the About page skips entirely.
BIOS Mode is the one most people come here for. It reads either “UEFI” or “Legacy.” This matters for Windows 11, since the OS requires UEFI firmware with Secure Boot capability, per Microsoft’s published system requirements. If yours says Legacy, that’s a flag worth investigating before an upgrade attempt.
Other fields worth a look:
- BaseBoard Manufacturer and Product (partial motherboard info, though not always the clean model name)
- BIOS Version/Date
- Installed Physical Memory with more detail than Settings gives
- Secure Boot State (on, off, or unsupported)
“BIOS Mode and Secure Boot State are the two msinfo32 fields that decide most Windows 11 upgrade questions. Settings won’t show either.”
The GeeksforGeeks walkthrough on checking your computer’s specifications covers msinfo32 in the same order, fast first then detailed, which is the sensible way to work through it.
dxdiag: graphics, sound, and DirectX
Games, video editing, display problems – this is the tool for those. The dxdiag command opens the DirectX Diagnostic Tool. Press Windows key + R, type dxdiag, hit Enter.
The System tab repeats some basics, but the real value sits on the Display tab. It lists your graphics card name, the manufacturer, dedicated video memory, the current display mode, and the driver version and date.
That driver date is quietly useful. An old driver behind a stuttering game is a five-minute fix, not a hardware problem, and dxdiag is the fastest place to catch it.
The System tab also shows your DirectX version, which some older games and creative apps still check against. Windows Central’s complete hardware specifications guide points to dxdiag for exactly this reason – GPU and DirectX in one window.
| Tool | Best for | Key fields it shows | What it misses |
|---|---|---|---|
| Settings > System > About | Fast everyday check | CPU, RAM, edition, 64-bit | Motherboard, BIOS mode, GPU |
| msinfo32 | Upgrade/compatibility check | BIOS mode, Secure Boot, baseboard | Clean motherboard model, live GPU load |
| dxdiag | Games and display issues | GPU, video memory, DirectX, drivers | RAM slots, storage detail |
| Command Prompt (wmic) | Exact motherboard model | Manufacturer + product number | Everything else |
The one thing that needs Command Prompt: motherboard model
This is the field almost every guide buries. To check motherboard model windows cleanly, msinfo32 gives a partial name, but the exact product number comes from a quick command.
wmic baseboard get product,Manufacturer,version,serialnumber
Type that into Command Prompt (search “cmd,” open it) and press Enter. Back comes the manufacturer and the precise board model, which is exactly what you need when checking BIOS update availability or confirming what CPU or RAM the board supports.
Newer Windows 11 builds nudge toward PowerShell, where the same info comes from Get-CimInstance win32_baseboard. Either works. The wmic line is just shorter to type from memory.
Which tool answers which question
To make this concrete, here’s the match-up so you open one tool instead of four:
- Buying RAM or checking multitasking headroom: Settings first, then Task Manager for slots and speed
- Windows 11 upgrade eligibility: msinfo32 for BIOS Mode and Secure Boot State
- Can this run a game or editing app: dxdiag for GPU and DirectX
- BIOS update or CPU/RAM compatibility research: the wmic command for the exact board model
- A support agent asked for your specs: Settings > System > About covers the usual request
Common snags and how to read them
A few things trip people up. When the CPU model in Settings looks unfamiliar, that’s normal – Windows shows the marketing name, not a plain “quad-core” label. Search the model number if you need the core count.
If msinfo32 shows “Secure Boot State: Unsupported,” that usually means the system is in Legacy BIOS mode rather than the hardware being incapable. Switching to UEFI is sometimes possible but not casual, so research the specific board first, which loops right back to that wmic command.
And if dxdiag shows a graphics card you didn’t expect, or two of them, that’s switchable graphics. Laptops list both the integrated and the dedicated GPU. Both are real.
When the specs come back short for what you’re trying to do, the fix isn’t always hardware. Sometimes it’s the Windows edition holding things back, not the silicon. Moving from Home to Pro unlocks BitLocker, Remote Desktop hosting, and Group Policy without touching a screwdriver, and a genuine Windows 11 Pro license does that in minutes on a machine that’s already running. Keyfy’s licenses are sourced through legitimate channels and delivered by email after checkout, so the upgrade path stays quick when the spec check points to an edition limit rather than a parts limit.
FAQ
What’s the fastest way to check RAM and CPU?
Press the Windows key, type “about,” and press Enter. Settings > System > About shows both in one screen, usually in under 15 seconds. It’s the quickest route for how to check pc specs windows 11 without opening anything else.
Do I need to install software to see my full specs?
No. Settings, msinfo32, dxdiag, and Command Prompt are all built into Windows. Third-party tools add nicer layouts and extras like live temperatures, but for a straight spec check they’re unnecessary.
How do I find my motherboard model?
msinfo32 shows a partial baseboard name. For the exact model, open Command Prompt and run wmic baseboard get product,Manufacturer. That’s the reliable way to check the motherboard model in Windows.
Where do I see if my PC uses UEFI or Legacy BIOS?
Open msinfo32 (Windows key + R, type it, Enter) and look at the BIOS Mode line in System Summary. It reads either UEFI or Legacy, and it matters for Windows 11 eligibility.
Why doesn’t the About page show my graphics card?
Settings focuses on CPU, RAM, and the OS. For the GPU, video memory, and DirectX version, use the dxdiag command and check its Display tab.
Wrapping up
It all comes down to one habit: match the question to the tool. Settings > System > About handles the everyday stuff. msinfo32 covers BIOS mode and Secure Boot for upgrade decisions. dxdiag owns graphics and DirectX. And the exact motherboard model comes from one short Command Prompt line. Four tools, four clear jobs, nothing to install.
And if the spec check reveals that the edition, not the hardware, is the ceiling – that’s the easiest fix of all. That’s how to check pc specs windows 11 without opening the wrong tool first.