





 Nederlands
 Italiano
 Português
 Română
 Español
 Ελληνικά
 Polski
 Türkçe



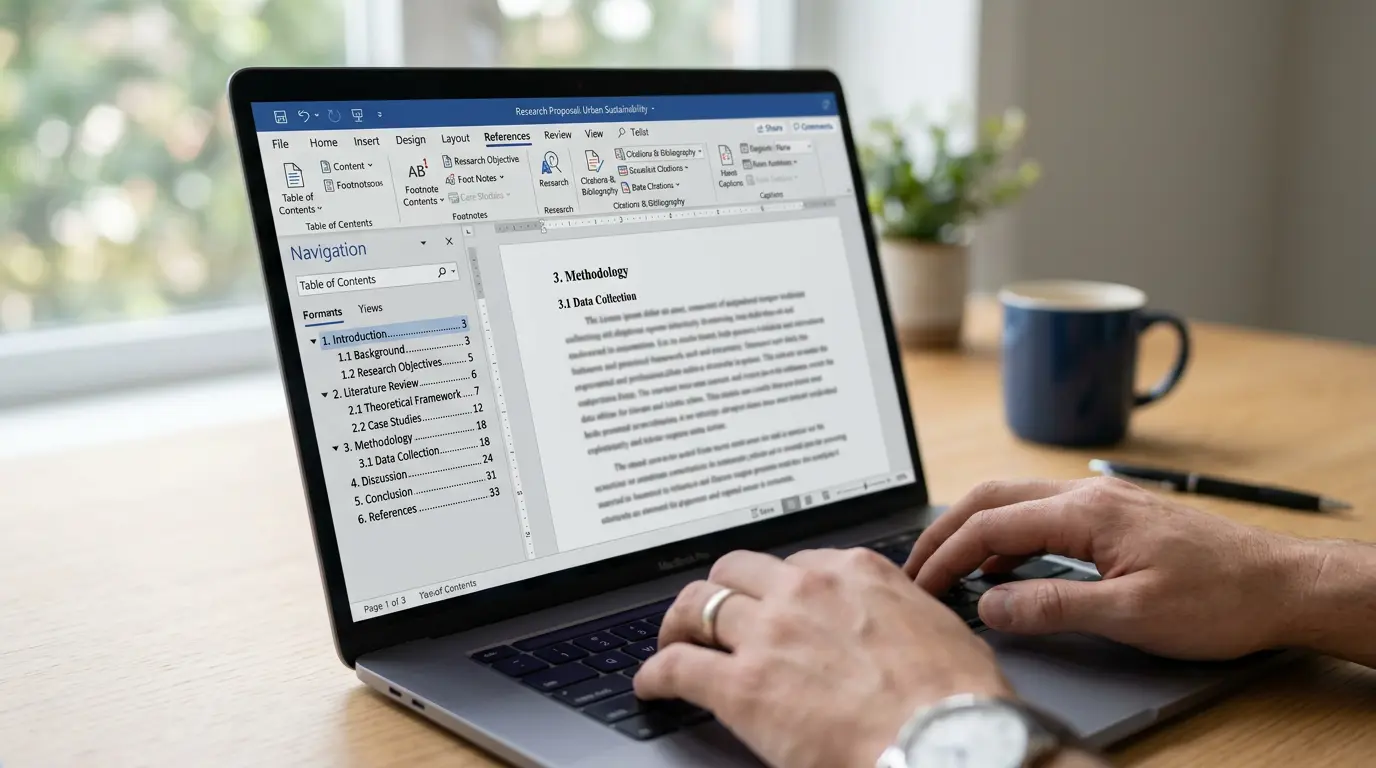
Picture a student two hours before a deadline, typing chapter titles into a contents page by hand, then guessing at the page numbers. Add a paragraph earlier in the document and those numbers slide out of sync. So the whole thing gets retyped. It’s tedious, and it falls apart the moment the document changes.
If you’re looking for how to create a table of contents in word, this is the part that matters first. There’s a faster way built right into Word, and it updates itself. But most guides skip the part that actually matters.
Here’s the deal. A table of contents is generated from heading styles, and if the document doesn’t use them, the feature has nothing to read. It comes up empty or throws an error. So before anyone touches References, the real work is making sure the headings are actually headings.
Why the Feature Looks Broken
Someone opens References, clicks Table of Contents, picks a design, and gets a box that says “No table of contents entries found.” Frustrating. Looks like the feature is broken.
It isn’t. Word scanned the document for heading styles and found none.
Here’s what usually happened. The writer made their section titles look like headings – selected the text, bumped the font to 16pt, hit bold. Reads like a heading to a person. To Word, though, it’s just normal body text that happens to be big and bold. The automatic table of contents feature ignores it completely, because it’s only looking for text tagged with a heading style.
That’s the gap. Most walkthroughs jump straight to References > Table of Contents without checking whether the document uses real heading styles first. For anyone who formatted their titles by hand, the steps just don’t work, and there’s no obvious reason why.
Point is, the styles come first. Everything else depends on them.
Fix the Heading Styles First
Heading styles live in the Home tab, in the Styles gallery. Normal, No Spacing, Heading 1, Heading 2, and so on. For heading styles Word can read, use the built-in styles instead of manual formatting.
The logic is simple. Heading 1 is for main sections or chapters. Heading 2 is for subsections inside them. Heading 3 goes one level deeper. Word reads that hierarchy and builds the indentation in your contents page to match.
Applying one is easy. Click anywhere in a heading line (no need to select the whole line for paragraph styles), then click Heading 1 in the gallery. The text reformats to Word’s built-in heading look. Repeat down the document, using Heading 2 for anything sitting under a main section.
And if Word’s default headings look wrong to you, modify the style rather than reformatting each heading by hand. That manual reformatting is exactly what breaks the table again later.
There’s a quick sanity check worth doing. Open the View tab and tick Navigation Pane. A sidebar appears listing every heading in the document. If a section title shows up there, Word recognizes it as a heading and the table will pick it up. Missing from the list means it isn’t styled yet. Digital Trends covers this same heading-based approach to building the table, and the Navigation Pane is the fastest way to confirm your work before you insert anything.
How to create a table of contents in word
Once the headings are tagged, insertion takes very little time.
Click where the table should go. Usually a blank page right after the title page. Put your cursor there first, because Word drops the table wherever the cursor sits.
Then:
- Open the References tab.
- Click Table of Contents on the far left.
- Pick one of the Automatic Table options from the dropdown.
Done. Word scans the document, pulls every Heading 1, 2, and 3, and lays them out with page numbers already filled in. The whole structure appears right away. That’s the automatic table of contents Word keeps linked to your heading styles.
One thing to notice in that menu is the split between Automatic and Manual. Automatic options read your heading styles and stay linked to the document. Manual Table just drops in a placeholder you fill by hand, which puts you right back where you started with numbers that never update. Skip that one here.
| Option | Reads heading styles | Updates automatically | Best for |
|---|---|---|---|
| Automatic Table 1 / 2 | Yes | Yes | Reports, theses, any document that changes |
| Custom Table of Contents | Yes | Yes | When you need to control depth or formatting |
| Manual Table | No | No | Almost never, avoid it |
SimonSezIT walks through both the automatic and custom methods if you want to control how many heading levels show up. Custom lets you set whether it displays down to Heading 3 or stops at Heading 2, which matters for longer documents where three levels get cluttered fast.
Why Page Numbers Go Stale
Here’s the thing nobody warns you about. A table of contents is not live text. It’s a field – a snapshot of the document taken at the moment you inserted it.
So you insert it, everything looks perfect, then you go back and add three paragraphs to chapter one. Every heading after that point shifts to a later page. Document’s correct. But the table still shows the old page numbers, because it hasn’t looked at the document since you built it. This is the classic TOC page numbers wrong problem, and it trips up almost everyone the first time.
Fixing it takes a quick refresh. Click anywhere inside the table, and a small toolbar appears at the top with an Update Table button. Click it, and Word offers two choices:
- Update page numbers only keeps your heading text as-is and just recalculates where each one lands.
- Update entire table rebuilds the whole thing, picking up any headings you renamed, added, or deleted since last time.
When in doubt, choose Update entire table. It may take slightly longer, and it catches everything.
There’s a keyboard shortcut too. Click inside the table and press F9. Same Update Field prompt, no reaching for the mouse. Handy when you’re doing several passes on a long report.
Common Snags and How to Clear Them
A few things go wrong repeatedly, and they’re all quick fixes once you know the cause.
A heading is missing from the table. Almost always this means one line never got a heading style, or it got reset to Normal during editing. Check the Navigation Pane. Not listed there means it’s not styled. Apply the correct heading level and update.
An extra line shows up that shouldn’t. The opposite problem. A line of body text accidentally has a heading style on it, so Word treats it as a section. Click that line, look at the Styles gallery to see what’s highlighted, set it back to Normal.
The whole table turns grey when clicked. That grey shading is normal. It’s Word telling you the area is a field, not editable text. It won’t print grey. Leave it alone.
Editing text directly inside the table. Don’t. Any change you type into the table itself gets wiped the next time you update. Fix the actual heading in the document instead, then update so the change flows through.
Working on a Genuine Copy of Word
All of this assumes a properly licensed, up-to-date copy of Word. Heading styles, the References tab, the Update Table behavior – identical across Office 2019, 2021, and Microsoft 365. So the steps here hold regardless of which version sits on the machine.
Anyone still typing contents pages by hand because they’re stuck on an old, unactivated install is doing extra work for no reason. A genuine license keeps the feature set current and the security updates flowing, and it doesn’t have to cost full retail. Keyfy’s licenses are authentic keys sourced through legitimate channels, delivered by email after checkout – worth knowing if you’re setting up Office on a new machine or finally moving off a trial. Skip the manual contents page, get a real copy, let the software do the counting.
FAQ
Why does my table of contents say “No table of contents entries found”?
Word found no heading styles in the document. Your section titles are probably formatted with bold and larger font instead of the Heading 1 / Heading 2 styles. Apply real heading styles from the Home tab, then insert the table again.
Do I have to update the table every time I edit?
Not while you’re working, no. But you must run Update Table before printing or exporting to PDF, because Word doesn’t refresh page numbers automatically on save. Click inside the table and press F9, or use the Update Table button.
Can I change how the table looks without breaking it?
Yes. Use References > Table of Contents > Custom Table of Contents to control formatting and how many heading levels appear. Editing the table text directly is what breaks it, since updates overwrite manual changes.
What’s the difference between “update page numbers only” and “update entire table”?
Page numbers only recalculates positions and leaves your heading text untouched. Update entire table also picks up renamed, added, or deleted headings. Choose the entire table option if you’ve changed any heading wording.
Will this work in older versions of Word?
Yes. The heading-styles-then-References workflow is the same in Word 2016, 2019, 2021, and Microsoft 365. Menu positions barely differ.
Wrapping Up
A table of contents in Word is only as good as the heading styles behind it. Tag your sections with Heading 1, 2, and 3, confirm them in the Navigation Pane, then insert an Automatic Table from the References tab. When the document changes and the page numbers drift, an Update Table refresh brings everything back in line. That’s how to create a table of contents in word without hand-typing a contents page again.